Vertical Real Estate Video Ideas for Canadian Agents
A useful vertical real estate video gives someone a reason to keep watching: a clear view of a property, an answer to a buying question or a detail they might otherwise miss. Start with the viewer’s question, then choose the footage. A sequence of attractive rooms without context can leave the audience unsure what the listing offers.
Nine concepts to adapt to an actual listing
- The feature-led introduction. Open on one verified feature, then show how it connects to the rest of the home. For example: “A kitchen with a direct connection to the backyard.” Avoid an opening that promises a feature the footage cannot demonstrate.
- The room-connection walkthrough. Follow a coherent route from entrance to living space and kitchen. Use a caption when a cut could make the layout confusing.
- Three details to notice. Show three specific features rather than general adjectives. Storage, a separate workspace and a covered outdoor area are useful subjects when present.
- The agent answers one question. Pair a short on-camera answer with relevant property footage. Verify dimensions, fees and other factual statements before recording.
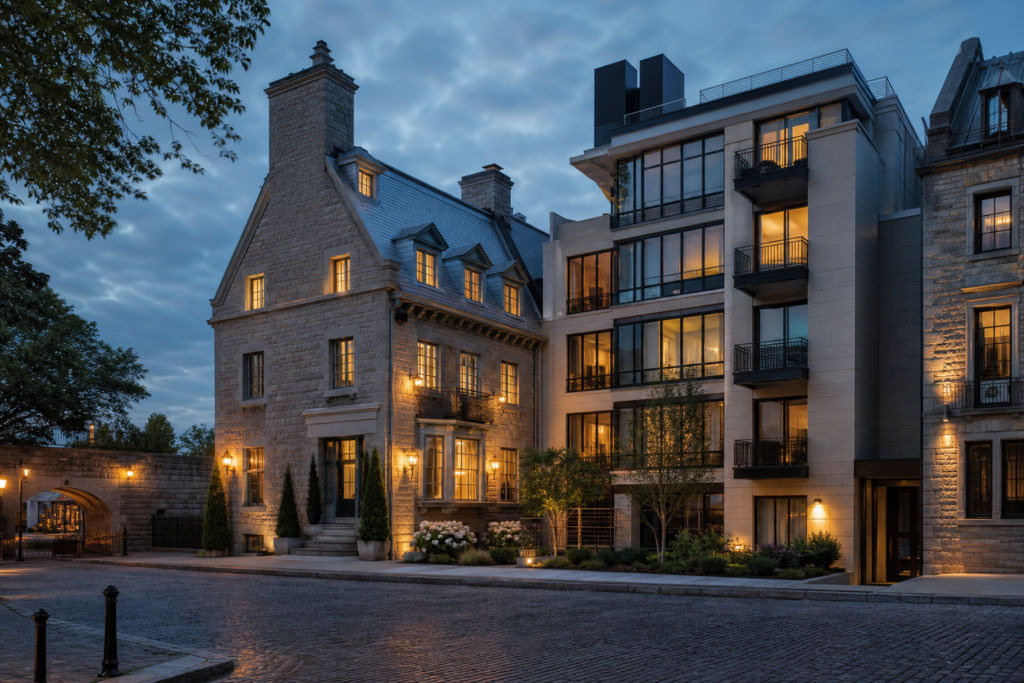
- Daylight to evening. Compare the same exterior in real daytime and dusk conditions. Label a digitally created evening treatment so it is not presented as an on-site capture.
- A local context clip. Show a nearby public amenity only when it is relevant and you have permission to use the footage. Check distances and access claims instead of inferring them from a quick drive.
- A preparation lesson. Explain one improvement made before the shoot, such as clearing sightlines or styling a dining table. Obtain permission before showing the seller’s belongings or an earlier state of the home.
- An accurate staging comparison. Use matching angles to explain a real staging change. Clearly identify virtual staging, and preserve permanent property features.
- The practical-space feature. Give a laundry area, pantry, garage or storage room its own concise tour when it answers a likely buyer question.
Write a short brief before filming
For each planned edit, record the audience, opening line, three or four essential shots, one verified fact and the next step you want a viewer to take. “View the full property details” is more useful than an unrelated engagement request when the goal is listing enquiries.
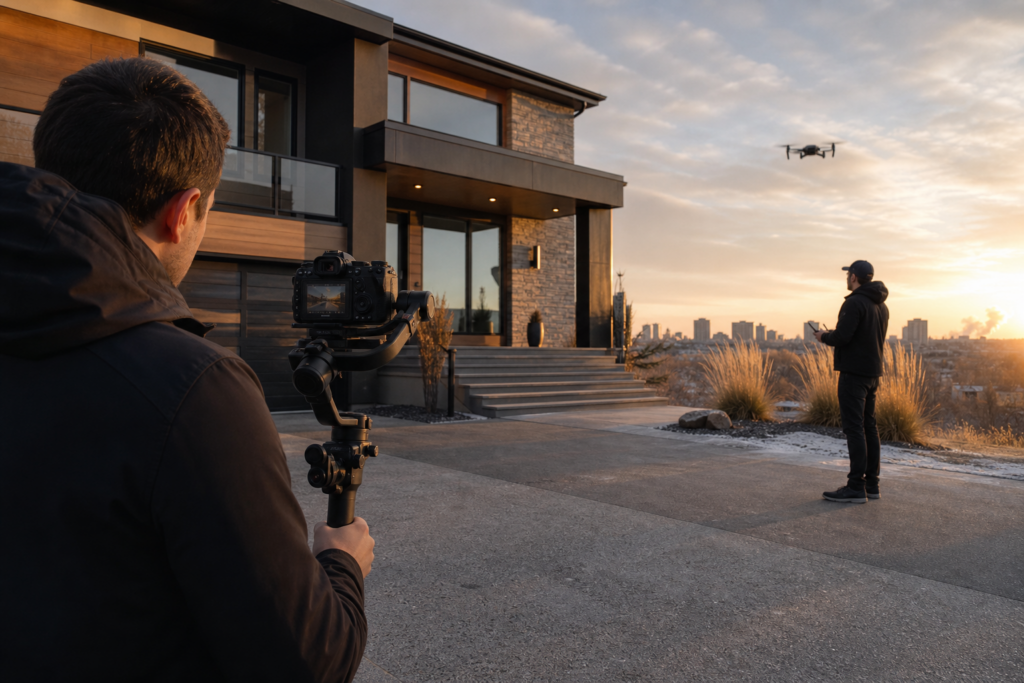
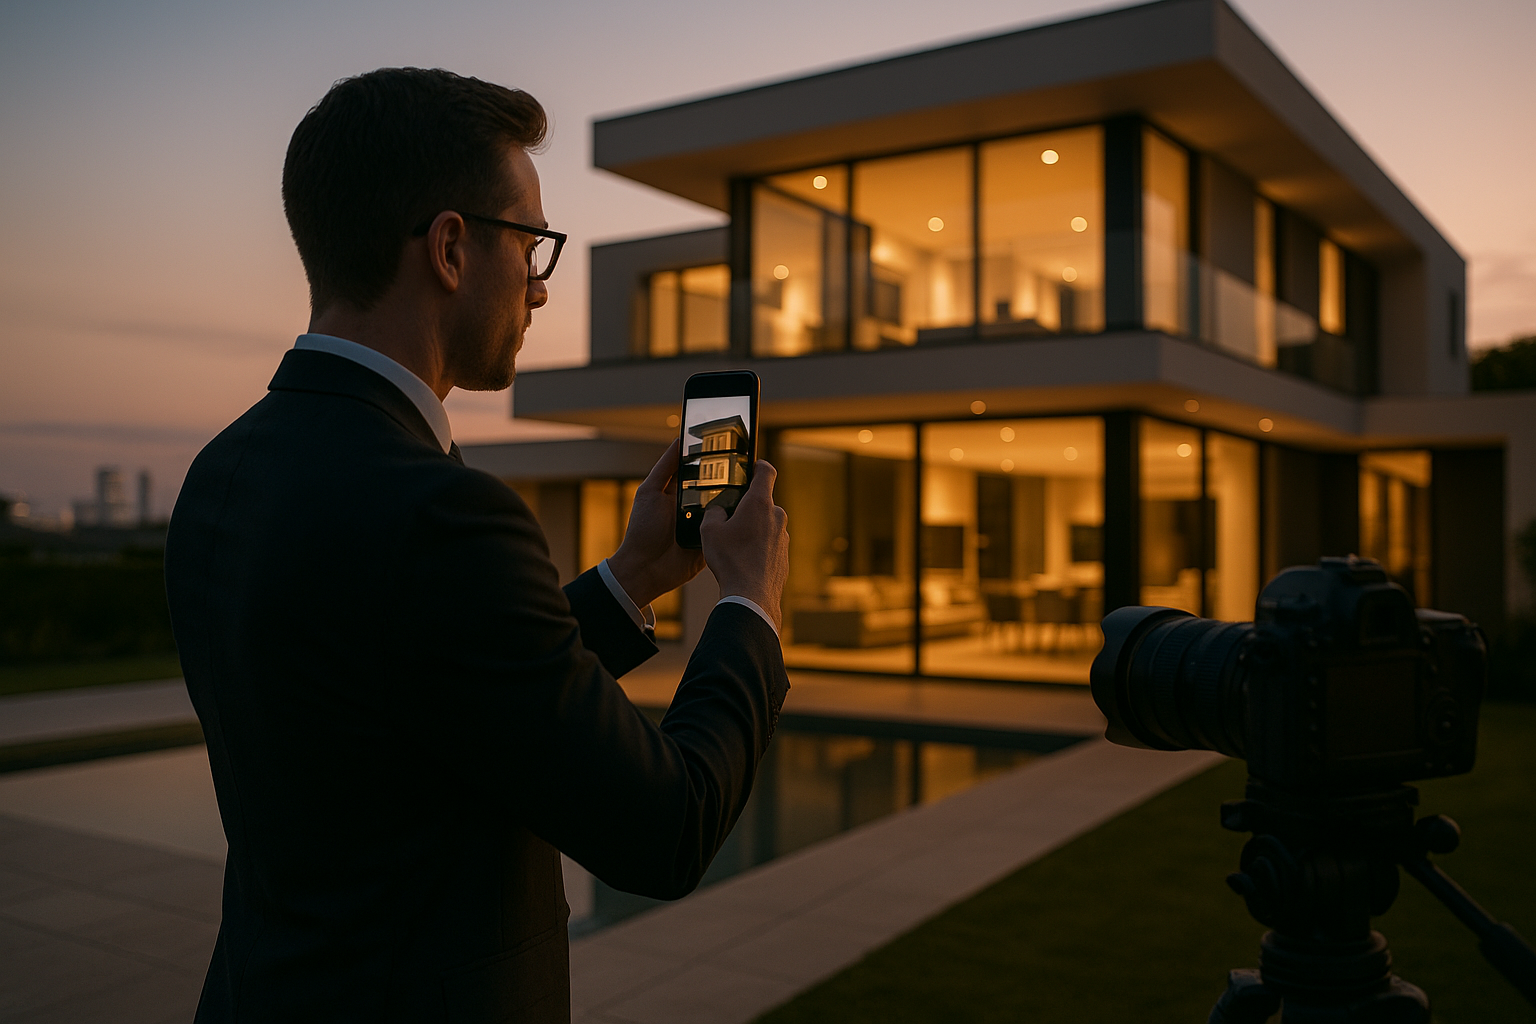
Film with the vertical crop in mind. Keep the important feature readable, leave room for platform controls and captions, and review the export on a phone. A horizontal master can sometimes be reframed, but it does not automatically contain enough space or coverage for every vertical edit.
See the real estate video service for the distinction between available video options, and confirm the number of cuts and formats in the agreed scope.
Use a sequence instead of repeating the same clip
A practical launch could pair a feature introduction with a room-connection tour and a later answer to a common question. These are suggested editorial choices, not a platform formula or a guaranteed posting schedule. If there is only one useful story, publish one strong edit.
For more context on choosing an evening scene, read the daytime and twilight photography comparison. For content centred on the agent’s wider business, review business and brand content.
Measure more than views
Record the video’s purpose and publication date. Where the platform provides them, review watch time, saves, profile visits and clicks alongside attributable enquiries. Use a tagged link to the property page when practical, and ask enquiry sources consistently. A popular clip is not proof of a sale or a profitable campaign; assess whether it helped people take the intended next step.
Ready to tell your story on camera?
Photography and video for Toronto and the GTA. Review the service scope and delivery timing before booking.